
 Here's what you'll need:
- A coconut and some water. Yup, that's it!
I started off with two coconuts, but ended up with only one in the end . . . you'll see why if you scroll down and read a little further. I found coconuts for 1.99 each at Albertsons, which is kind of a more pricey grocery store. They are probably cheaper at Wal-mart.
The first thing you need to do is get a manly man to pierce the black eye and drain the coconut water. Then he'll need to crack open the coconut so the meat is exposed. Next, cut the coconut meat out of the shell and cut into small chunks. We used a small knife, but haven't figured out any easier way to do this yet.
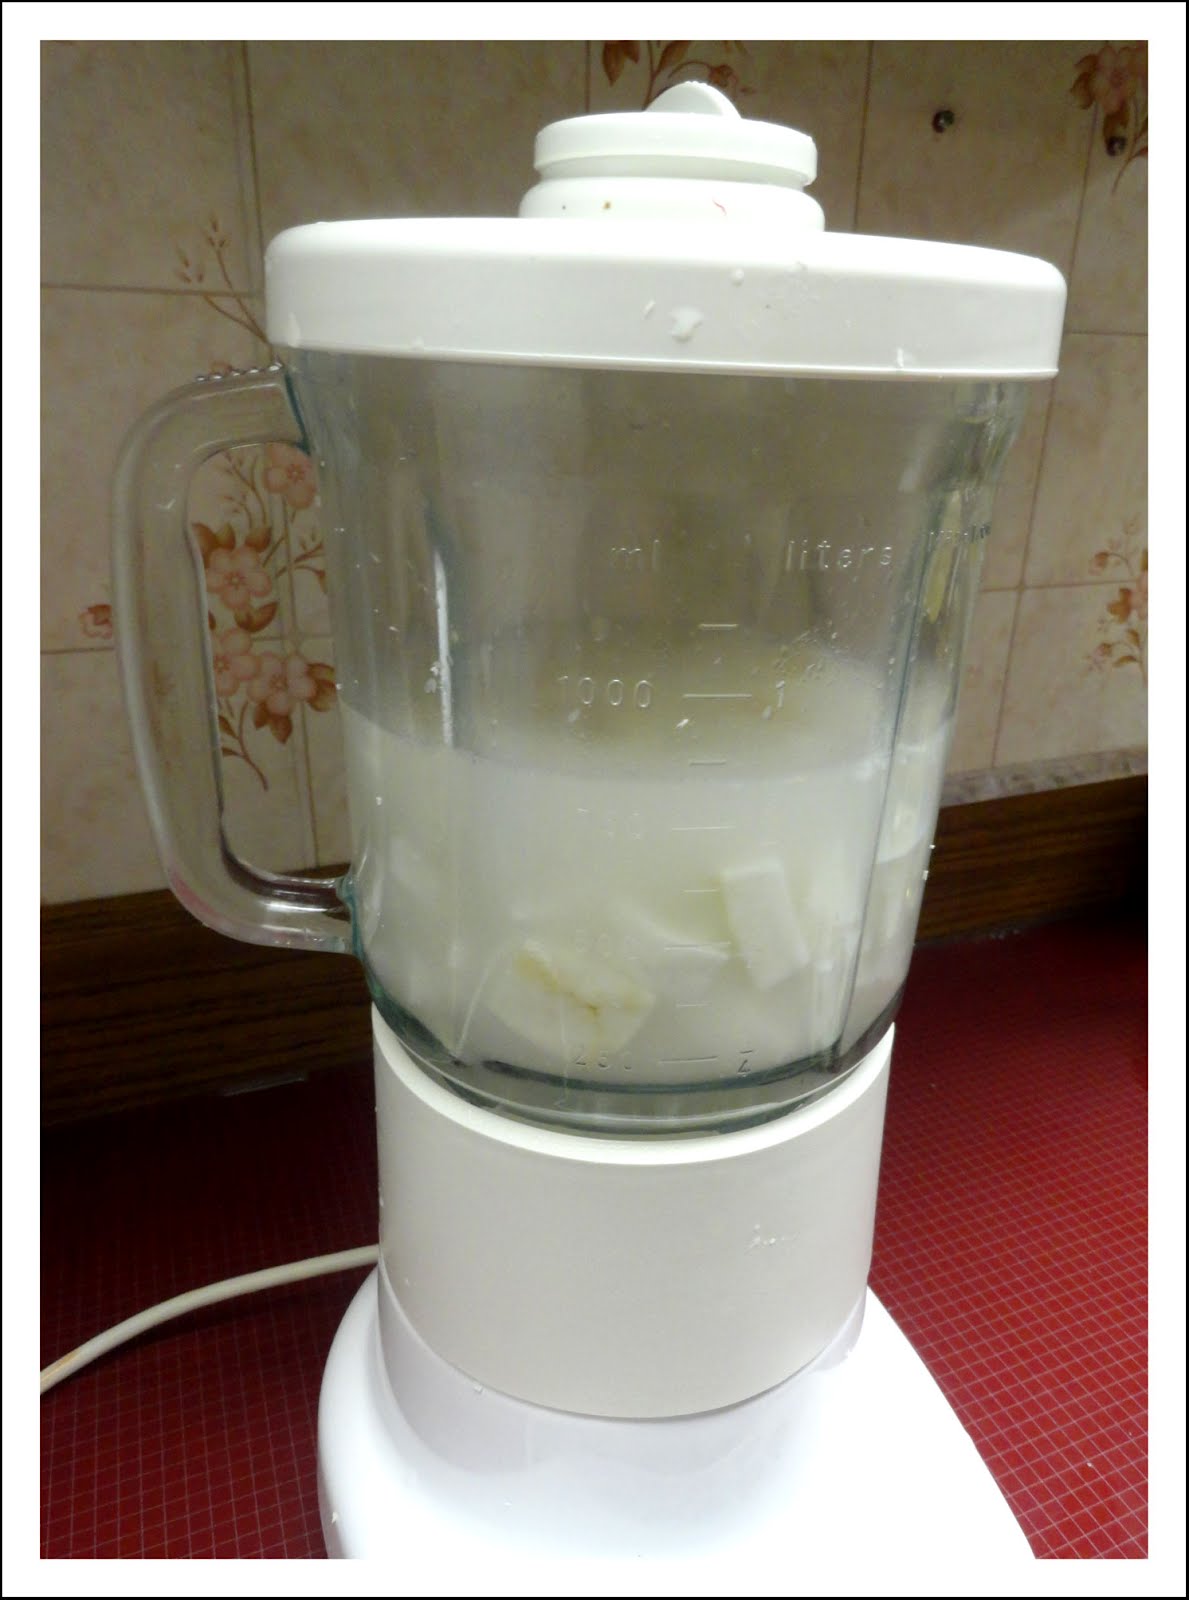
Put the coconut into a blender with some water. For every 1 cup of coconut, use 1 1/2 cups of water. Do this in small batches and not all at once. Blend until the coconut is liquidy.


 Okay, now we are down to one coconut. Line a large bowl with three pieces of cheesecloth. Pour the coconut/water puree two cups at a time onto the cheesecloth.
 Squeeze out the liquid as much as possible. You can always redunk the cheesecloth into the bowl to get the coconut wet again and try to squeeze out more of the oils.
 Repeat this until all the liquid is squeezed out of the coconut puree.
 Pour the coconut milk into a clear pitcher or container, preferrably with lid. Cover and let stand in a darker area of the room for two days.
  The coconut cream/oil will separate and float above the liquid after it is done fermenting. Put the pitcher in the fridge for about 4-6 hours or until the cream/oil has hardened.
 Cut around the edges of the top layer to loosen the cream/oil out of the container.
 Remove the top layer from the container. Now we need to separate the oil from the cream.
 Place it in a skillet and turn the heat to medium/high.
  Constantly stir as the cream/oil melts and begins to boil.
 You'll start to see the oil separate from the cream. The oil is all the clear liquid.
  Keep stirring, you're almost done!
 When the cream has solidified and turned golden brown, you are done.
 Pour the contents of the pan through a sieve and into a jar.
 Let cool at room temperature and enjoy all your hard work!
No comments:
Post a Comment